

NORTHERN LIGHTS, UKAHALA–Happy Father’s Day! On this fitting occasion, this post continues the series called “Dad, How Do I…?” in which Prior Bumble, i.e. “Papa Prior,” the Father of RFCP, walks you through how to do things a dad would teach you. The series is inspired by a YouTube channel with the same purpose and is especially aimed at helping our soldiers who do not have fathers, have unideal relationships with their fathers, or just need a father figure’s love and guidance.


Hi, kids. It’s Dad.
First, I want to thank you for all the Father’s Day love I received today. It is the most precious honor to be your father.
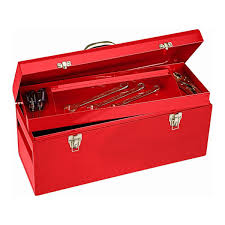
Now, let’s get into the topic for today’s blog post. As you get older and move into your first college dorms, apartments, or even freestanding homes, you’ll need to be prepared to fix basic things around the house. I’m going to teach you how to build a reliable starter tool kit.

Here’s what you’ll need:
- Hammer
- Mallet
- Phillip’s head screwdriver and flat head screwdriver
- Adjustable wrench
- Allen wrenches
- Ratchet and socket set
- Pliers
- Nails, screws, and nuts
- Hand saw
- Tape measure
- Safety gloves
All right kiddos, let’s dive in.
Hammer. A very common tool. An obvious choice. But what kind of hammer?

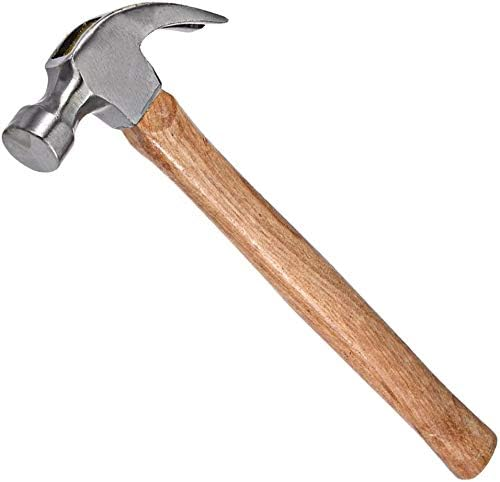
Your dad here has 3 hammers–two tack hammers, and one regular hammer. Tack hammers are usually magnetized and good for hammering in small nails with small heads. Big hammers are good for bigger nails with bigger heads. I suggest starting out with a regular hammer–it’s more versatile and can always fill in for the tack hammer.
Next is a mallet.

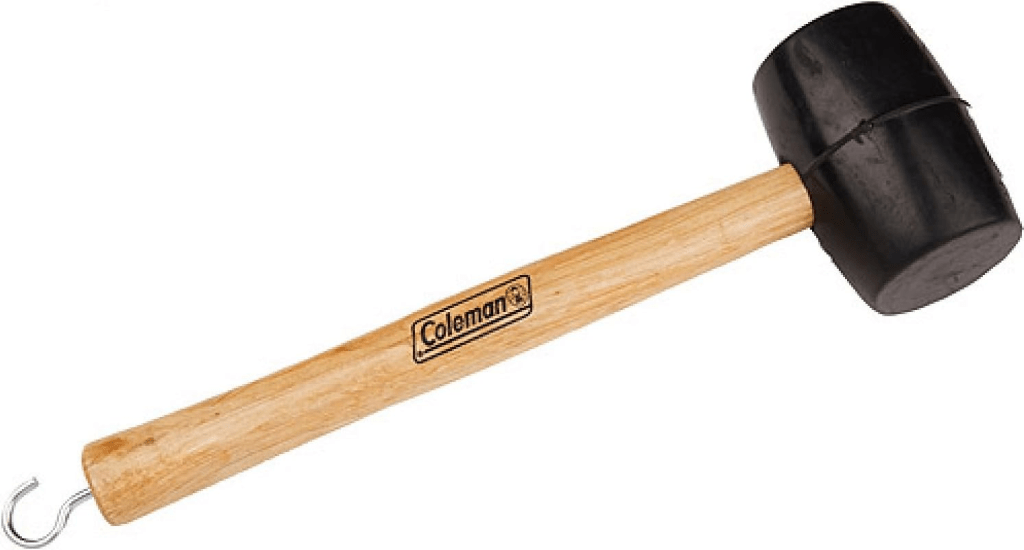
Mallets are not quite used for nails–you can use mallets to whack things into place without damaging the material. For instance, say you need to whack a piece of wood into a tight place, but you don’t want to dent the wood. A mallet is the way to go. Get a rubber one.
Next, we’re going to add a Phillip’s head screwdriver and a flat head screwdriver to the kit.

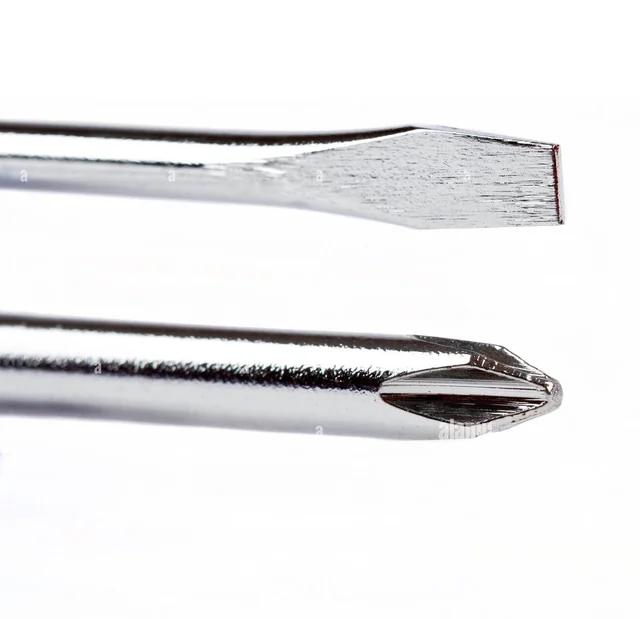
As you can see, the difference is in the tip. Some screws have single lines and some have cross shapes. The cross shapes are easier to work with I think because the screwdriver easily centers into the screw. But here’s the thing, kiddos: if you can afford it, try to buy a set with multiple sizes. Tiny screwdrivers can’t handle big screws and vice versa. For your purposes, if you can only afford one, I suggest a smaller one so you can unscrew electronics.
Coming up next is the adjustable wrench.

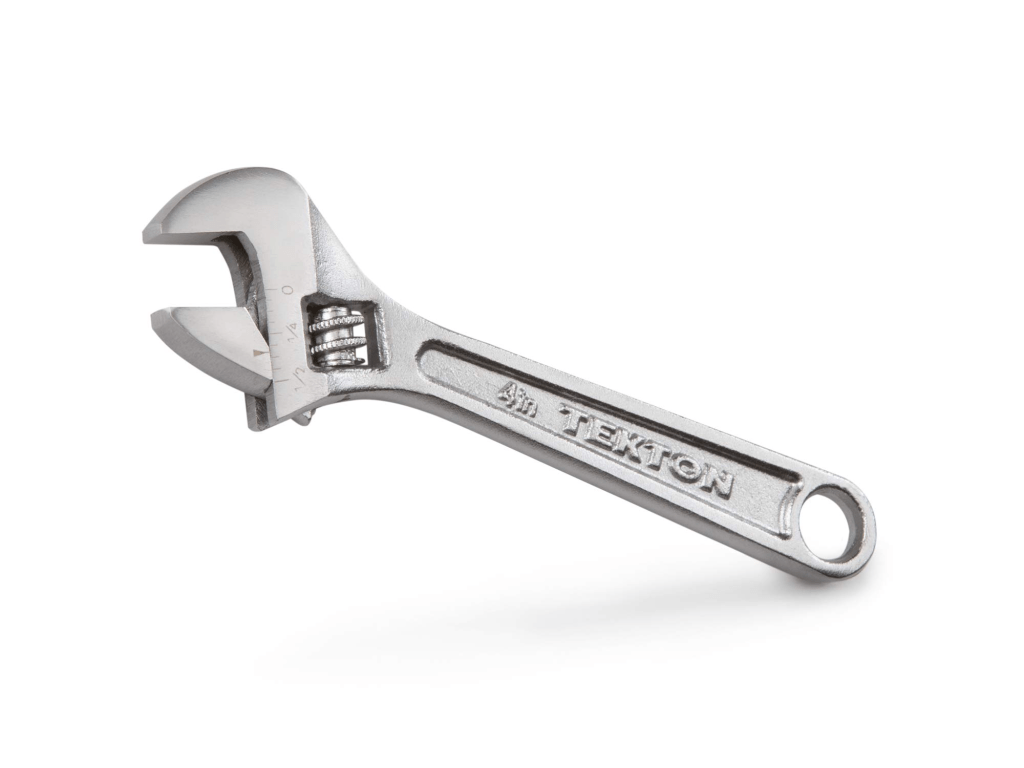
This tool eliminates the problem I just mentioned–needing a lot of different sizes. The adjustable wrench is multiple sizes in one, so a great addition to your first tool kit. However! Listen here, squirts–“wrench” is a BIG, VAGUE word. There are lots of types of wrenches. You’re going to need at least two more.
Allen wrenches.

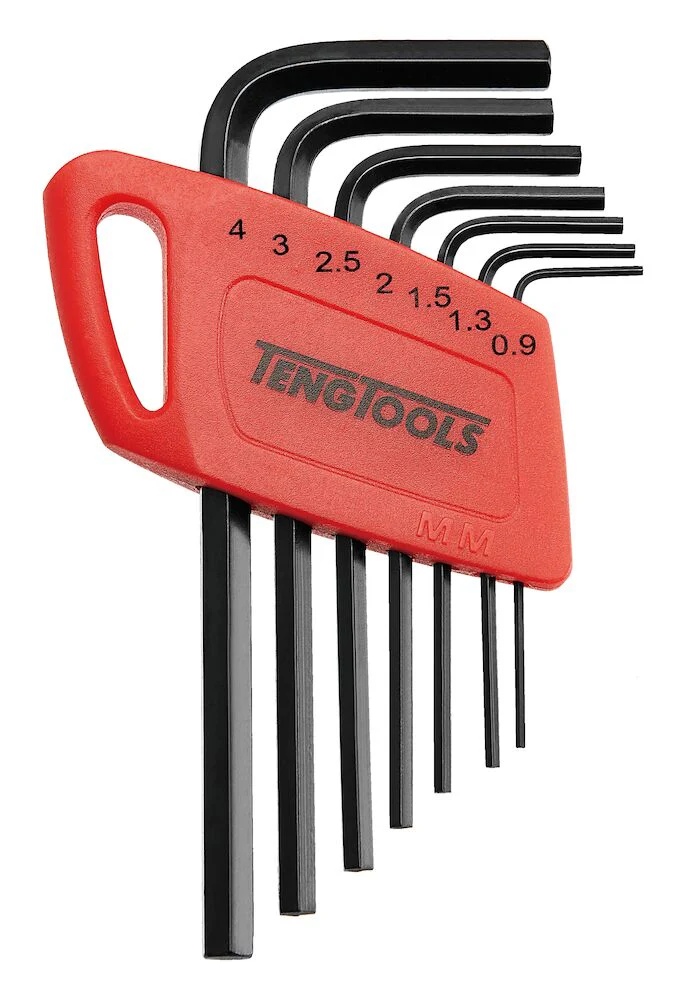
Kids, I can’t tell you how many times you’re gonna need these funny looking things. They don’t look like much, but one simple set of Allen wrenches can last you a lifetime and be just what you need to undo a part on your bicycle or put together furniture from IKEA. Recently, we had a repairman at our house, and he started walking out the front door telling us he needed to go to Lowe’s to buy a set of Allen wrenches. I stopped him and dug out my set. It felt good to save the day (and man up!). You can, too, with these little suckers.
Now, our final wrench for the tool box is more of an honorable mention. I don’t think you need to spend money on a ratchet and socket set right away, kiddos.

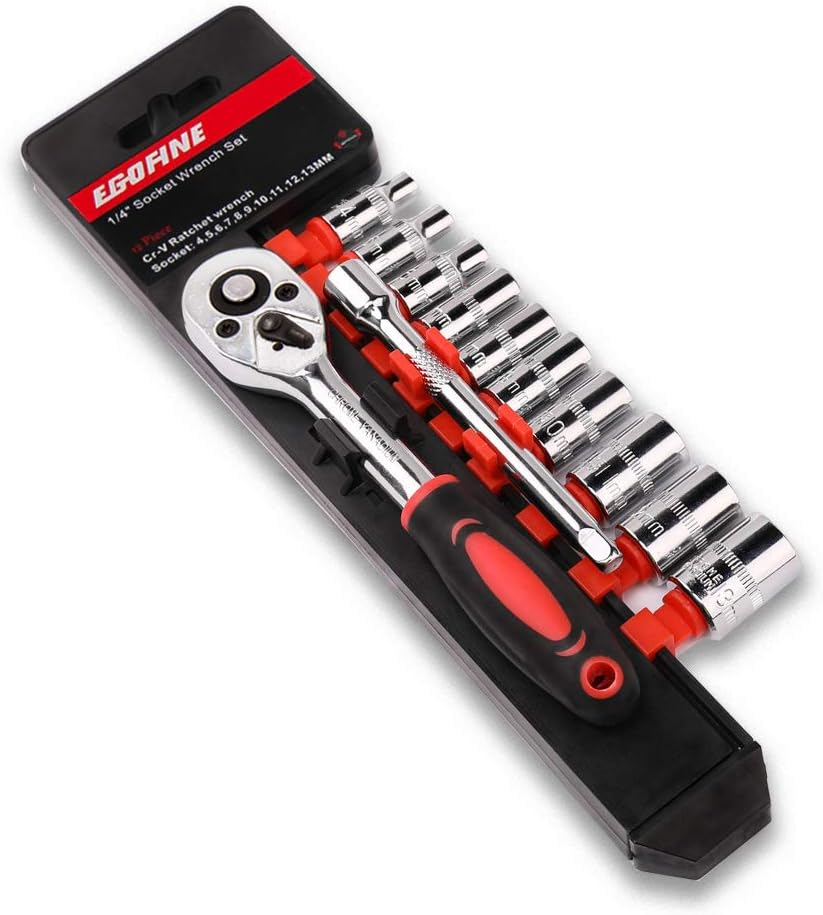
But I bought my first set at AutoZone and thought it was a really good deal…$15 or so for a whole set of sizes up to 9mm. Not bad. But a little advanced for your basic household needs.
Moving on now to pliers.

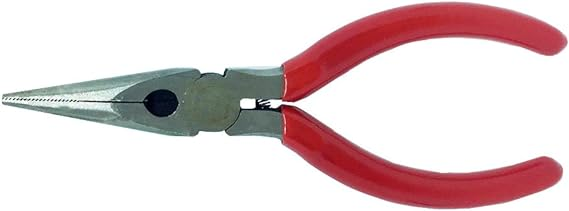
There are a lot of different kinds of pliers, but start with your basic needle-nose pliers, which can help you grab tiny stuff, steady nails, and do all sorts of helpful things. They look similar to wire-cutters–but are not to be confused. Wire-cutters would be a smart thing to add to your tool kit, but for now, focus on the pliers!
Adding nails, screws, and nuts to your starter kit is important if you want to get anything DONE with those hammers and screwdrivers 🙂

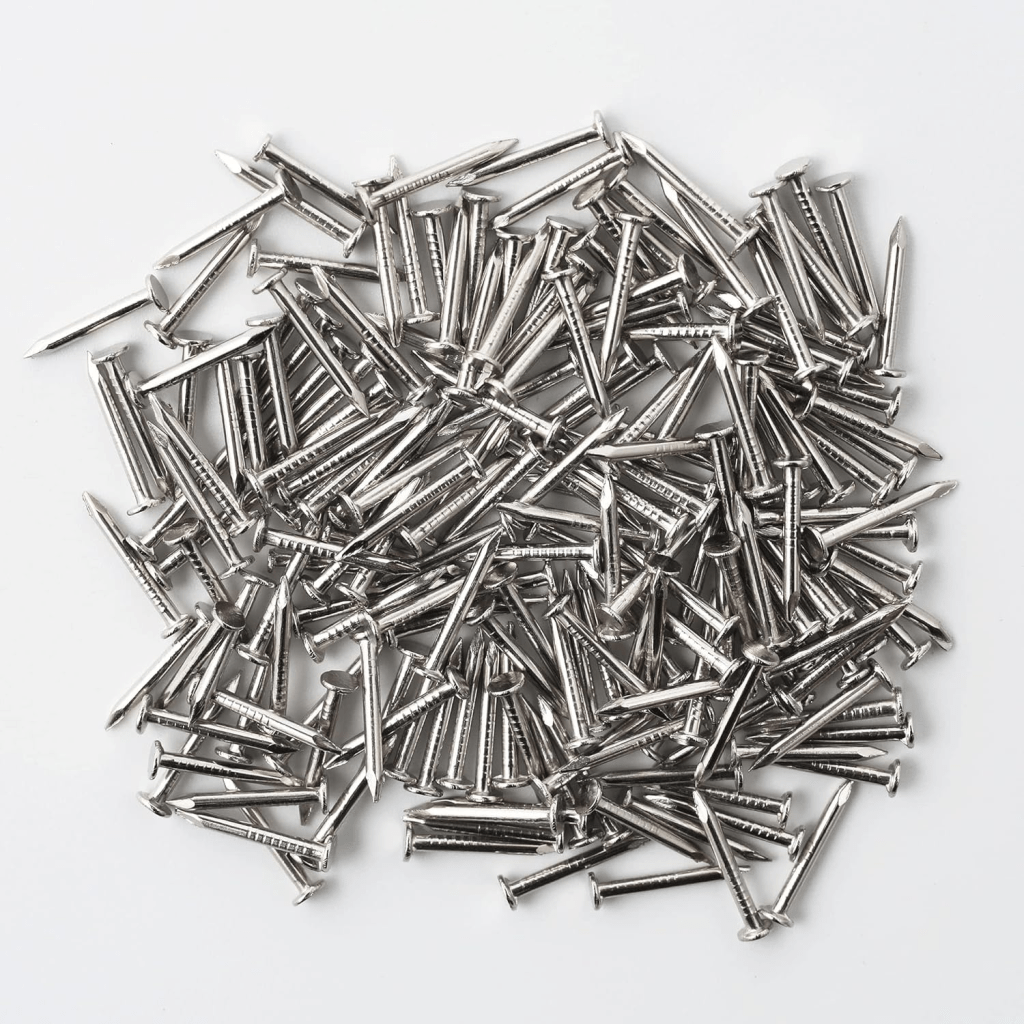
But like all tools, they’re specific to certain jobs and needs. Start with once inch and two inch nails. Hold off on loading up on screws and nuts until you have a specific job for them, but it’s not a bad idea to have a small supply of common sizes. Just make sure you’re pairing those screws with their nuts for safer and sturdier outcomes.
We’re adding a hand saw next.

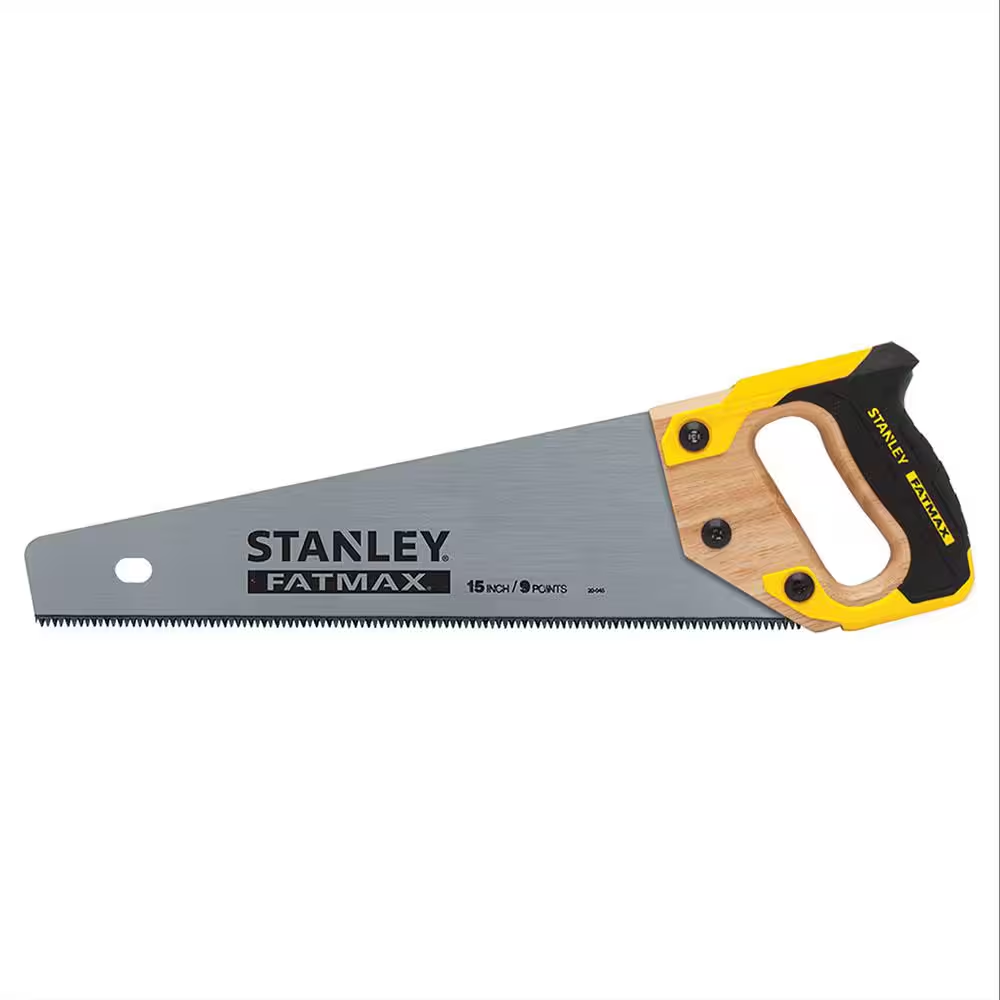
Saws are invaluable for light carpentry, fence reconstruction, or even small tree/vine removal. BUT BE VERY CAREFUL. VERY. CAREFUL. Throw it OUT if it gets rusty! Do not risk cutting yourself on a rusty saw. Wear your gloves!
Almost at the end: Tape measure.

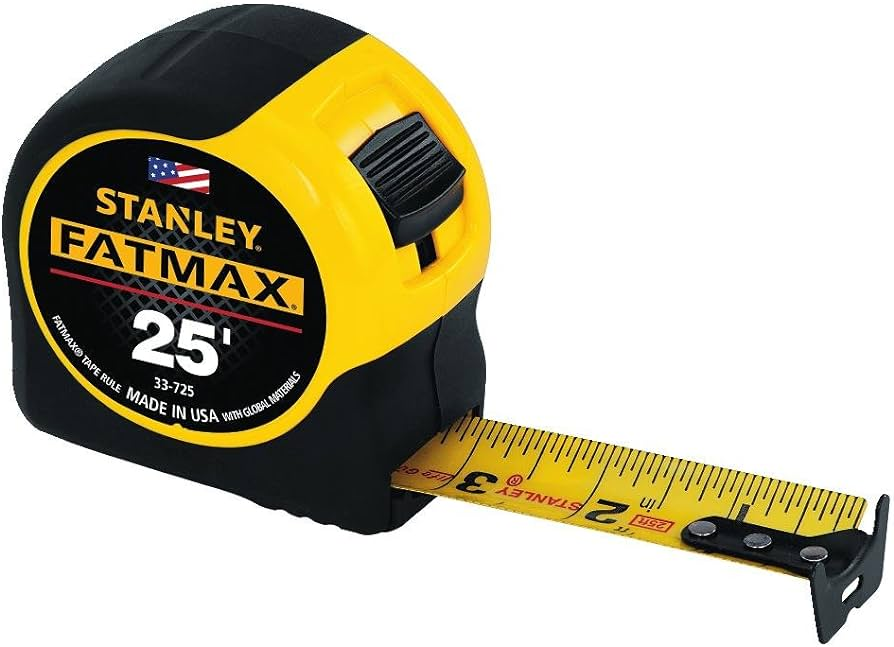
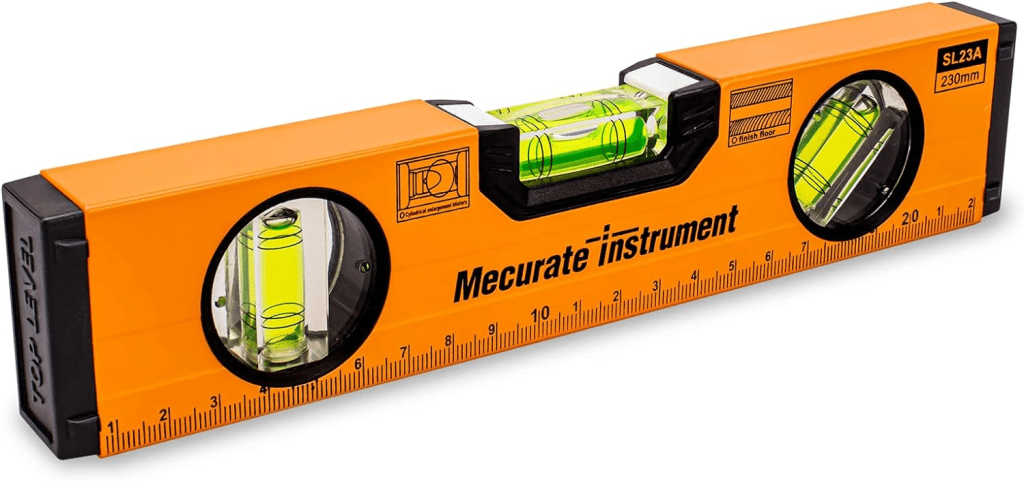
Remember the old saying: Measure twice, cut once. Always have a tape measure handy. Another honorable mention when it comes to measurement would be to have a level handy as well.

Finally, GLOVES!

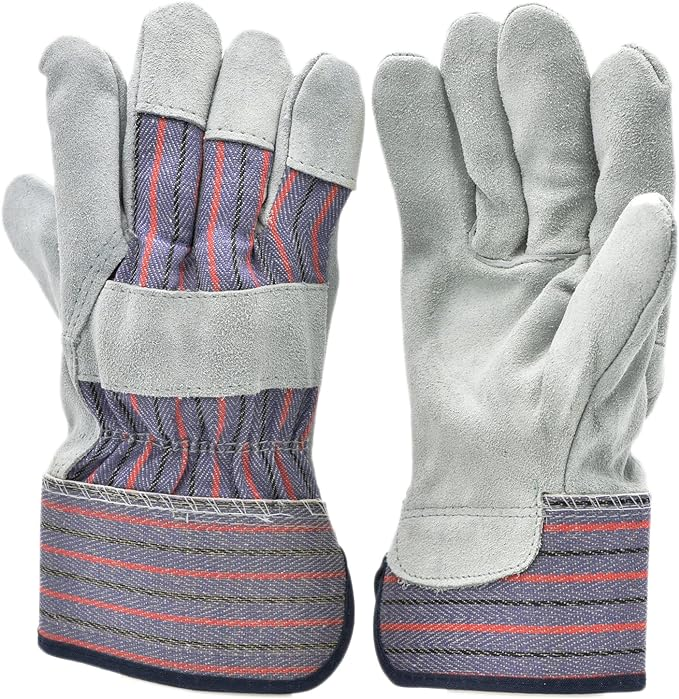
I want you safe at all times. I wish I could protect you in person, but for now, I must protect you with my words, my wisdom, and my love. Make sure you are using safety equipment when working with tools.
And that completes your very first tool box. You can probably get all these tools (and the tool box!) for around $200 if you’re thrifty.
Two last things to note:
- I don’t especially endorse any of these brands shown. Just find something cheap but new and store it neatly.
- NO POWER TOOLS! Leaves those to Dad!
Happy Father’s Day, RFCP.
I am always here for you. I love being your dad. And, my children, with these tools or without them, I believe you can fix and build anything in your life.
-Dad